
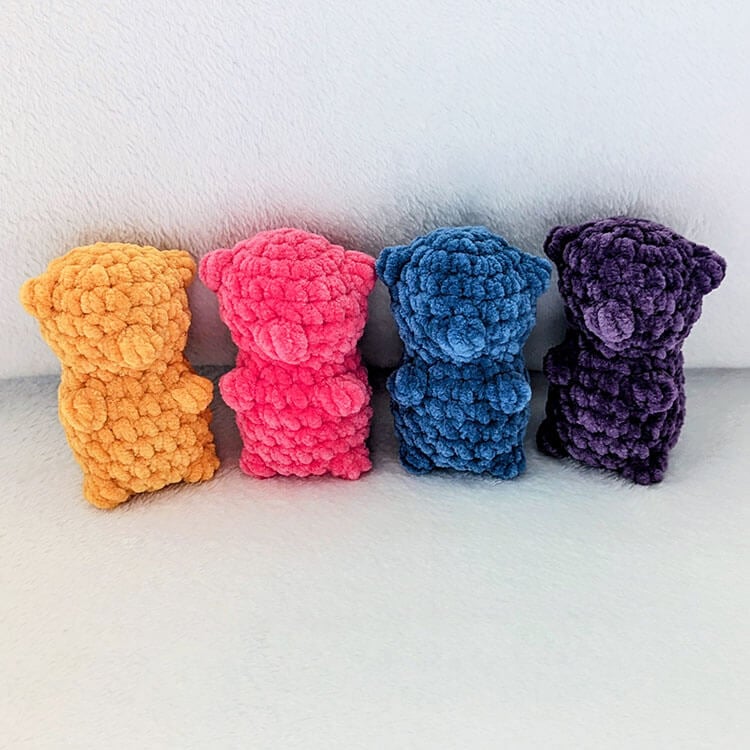
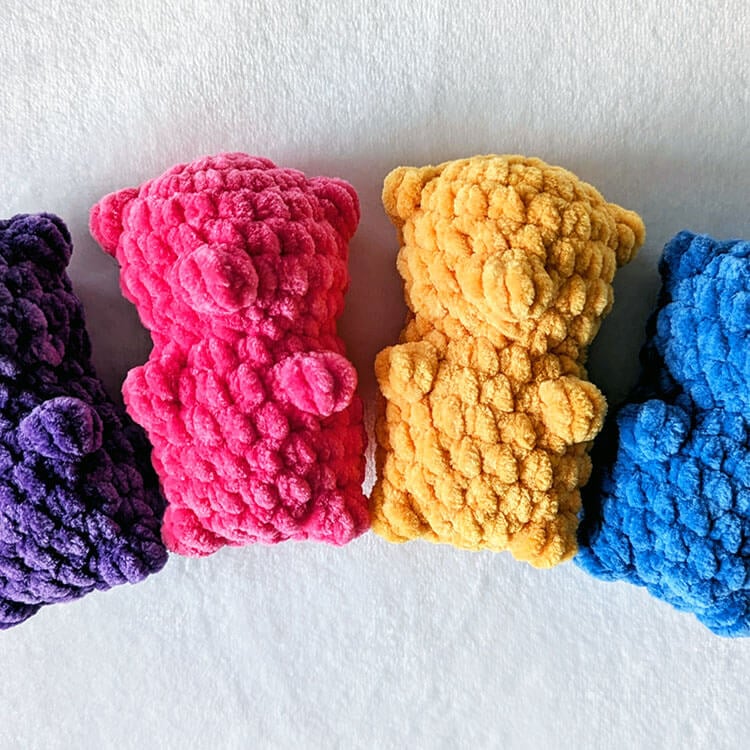
I have an undeniable affection for food-themed plushies, which has inspired me to create this delightful crochet no-sew gummy bear amigurumi. Gummy bears have a whimsical charm, and transforming them into a soft, cuddly creation brings joy to my crafting experience.

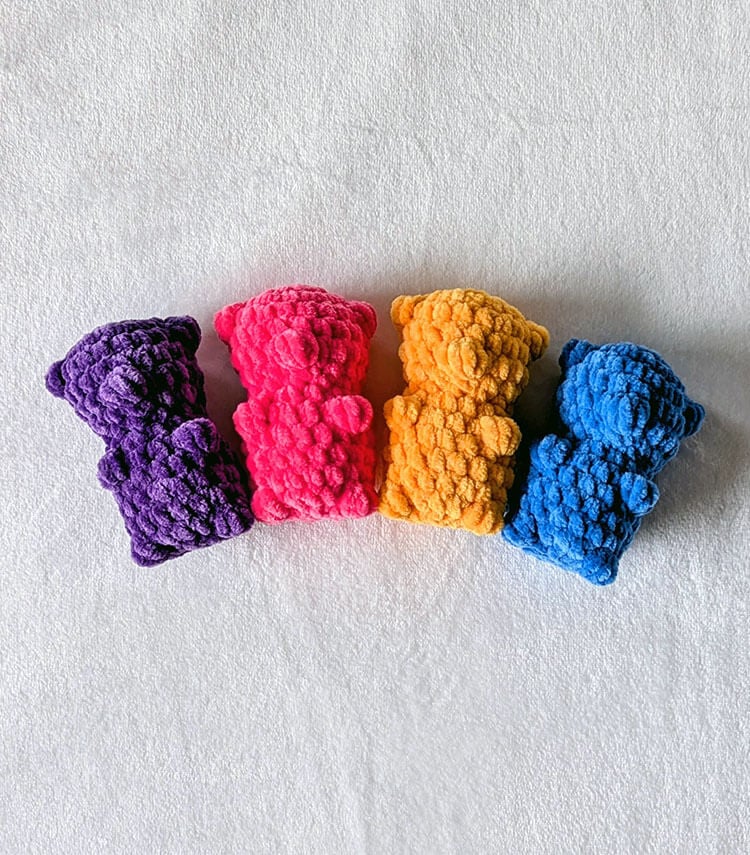
There is something inherently joyful about transforming a beloved sweet treat into a soft and huggable plush. This gummy bear amigurumi is crafted using chenille yarn, which provides an incredibly soft and squishy texture, making it almost irresistible to squeeze as soon as you finish creating it.
One of the aspects I cherish most about this pattern is its simplicity and speed. It is particularly suitable for beginners, as the straightforward stitches and minimal shaping make the process easy to follow. Most crafters can complete one of these adorable gummy bears in approximately 30 minutes, allowing for quick enjoyment or gifting.
Materials Needed:
- Parfait Chunky #6 Super Bulky Polyester Chenille Yarn
- US size I 5.5 mm crochet hook
- Poly-fil for stuffing
- Stitch marker
- Scissors
- Tapestry needle
Approximate Size: 4.25 inches tall
Pattern Notes:
- This pattern is worked in continuous rounds, so do not join at the end of your rounds.
- Depending on your tension, you may need to adjust the placement of your bobbles to ensure they align correctly.
Abbreviations (US):
ch – chain
st(s) – stitch(es)
sc – single crochet
inc – increase (work 2 sc in the same stitch)
inv dec – invisible decrease (decrease in the front loops only)
bo – bobble stitch (yarn over, insert the hook, pull up a loop, yarn over and pull through the first two loops. Repeat until you have six loops on the hook, then yarn over and pull through all loops to form a bobble).
Gummy Bear Crochet Pattern
Round 1: Begin with a chain of 2 and work 6 single crochet stitches in the second chain from the hook. This will give you a total of 6 stitches.
Round 2: Make an increase in each stitch all around. You should have a total of 12 stitches at the end.
Round 3: Work an increase followed by a single crochet in the next stitch. Repeat this pattern around. You will end up with 18 stitches.
Round 4: Work 4 single crochet stitches, then a bobble stitch, followed by 8 single crochet stitches, another bobble stitch, and finish with 4 single crochet stitches, maintaining a total of 18 stitches.
Round 5: Work a single crochet in each stitch around. You will still have 18 stitches.
Round 6: Work 9 single crochet stitches, then a bobble, and finish with 8 single crochet stitches.
Round 7: Work an invisible decrease followed by a single crochet in the next stitch. Repeat this pattern around to total 12 stitches.
Round 8: Continue working a single crochet in each stitch around, maintaining 12 stitches.
Round 9: Work an increase followed by a single crochet in the next stitch, repeating this across the round.
Round 10: Work 8 single crochet stitches, then a bobble stitch, followed by 4 single crochet stitches, another bobble, and finish with 4 single crochet stitches, resulting in 18 stitches.
Round 11: Work 1 single crochet in each stitch around.
Round 12: Repeat the same, working 1 single crochet in each stitch around.
Round 13: Continue with another round of single crochet in each stitch.
Round 14: Work 9 single crochet stitches, then a bobble stitch, followed by 5 single crochet stitches, another bobble, and 2 single crochet stitches, keeping the count at 18 stitches.
Round 15: Finish off with 9 invisible decreases around, leaving you with 9 stitches.
At this stage, stuff your gummy bear generously and then close the remaining hole.
How to Close the Hole
To finish, fasten off the yarn, leaving a long tail for closing. Thread your yarn tail onto a tapestry needle and run it through each stitch around the opening. Once you have come back to the starting point, pull the yarn tight to close off the hole. Finally, fasten off and weave in any loose ends to secure your adorable creation.