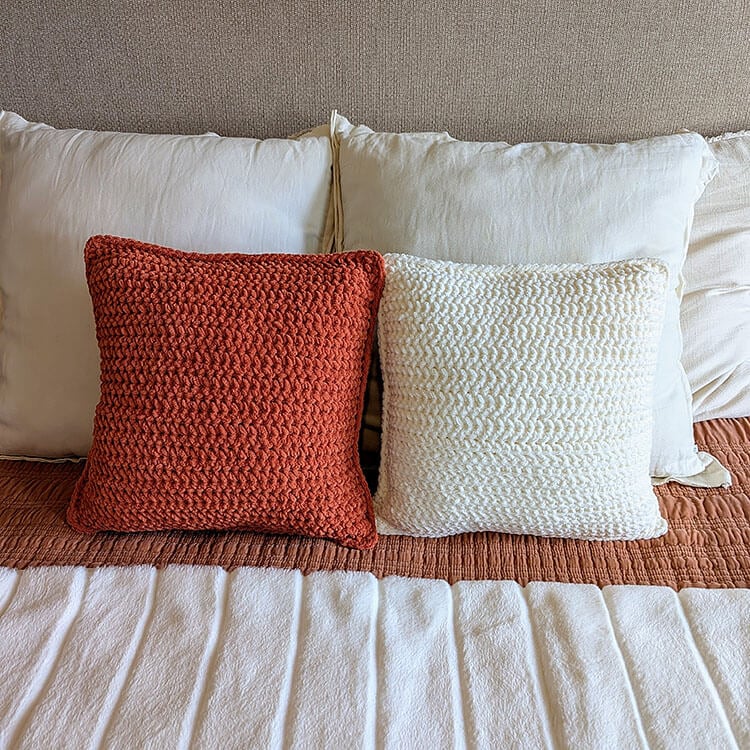
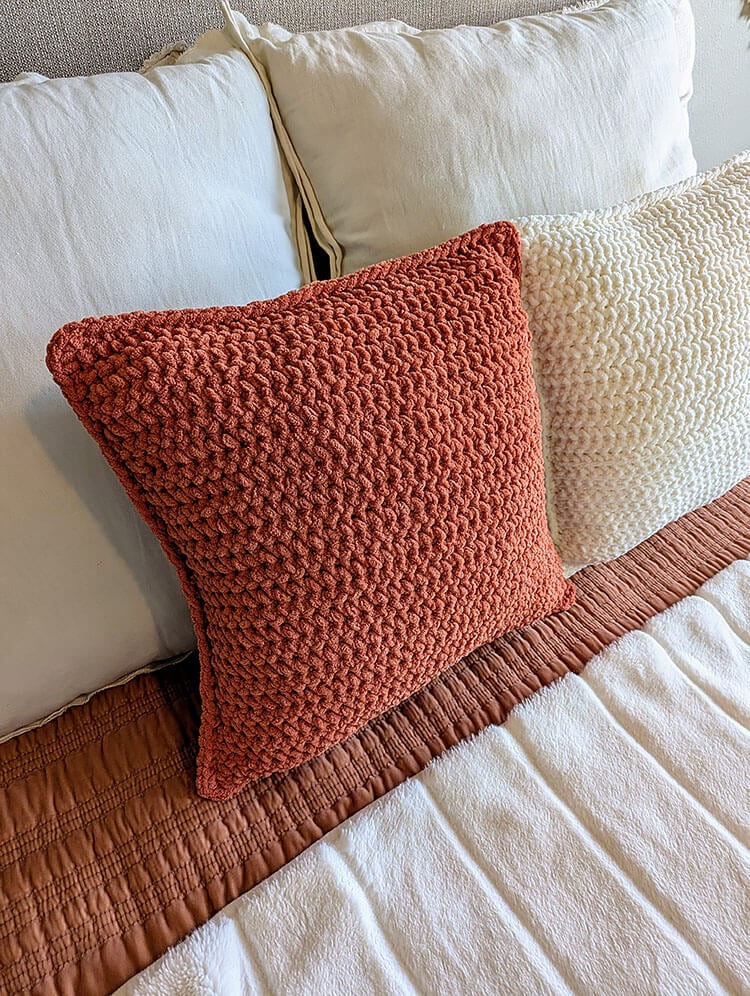
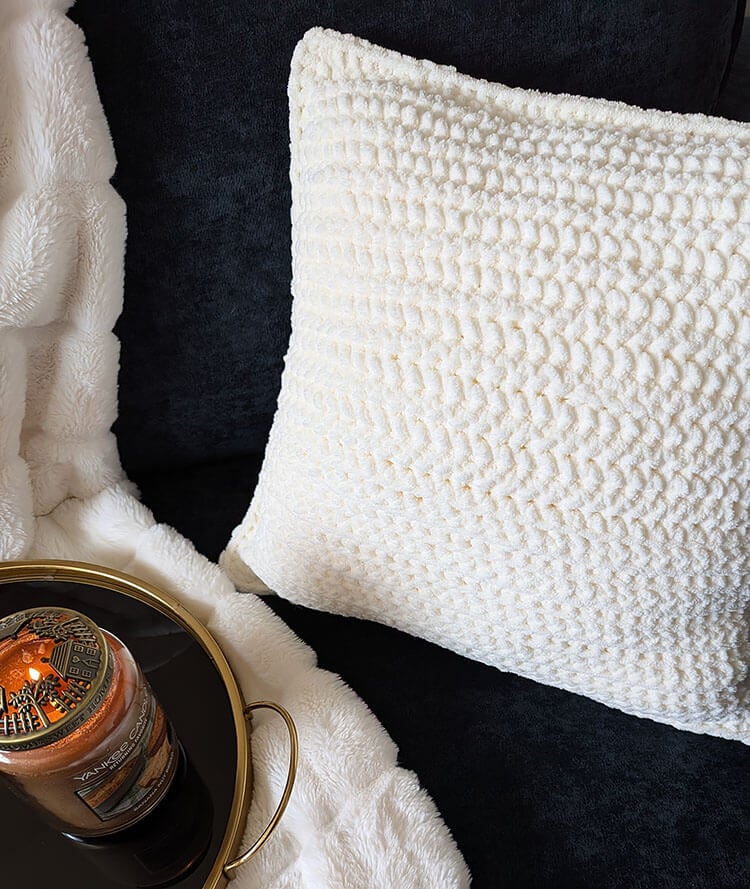
If you share my passion for quick and fulfilling projects that bring a warm, inviting atmosphere to your home, then you’ll appreciate this delightful Sweater Weather crochet pillow. The inspiration for this project came from my desire to create something that not only looks appealing but also adds a cozy element to my living space.

*This post may contain affiliate links.
My goal was to design something that is both stylish and practical, an item I could complete in just a few hours and proudly showcase on my bed. This pillow is not only soft and inviting but is also straightforward to make, ensuring it will complement your home décor beautifully.
Materials Needed:
Estimated Size: 18” x 18”
Gauge (for a 4in x 4in section): Approximately 8 stitches and 7 rows
Size Adjustment: If you wish to modify the width of your pillow, simply start with more or fewer chains; any number of chains will work. Continue with the crochet pattern as written until your pillow reaches the desired length.
Pattern Notes:
- The chain 1 at the beginning of rows does not count as a stitch.
- If you find it challenging to identify the first or last stitch of each row, consider using stitch markers to help you keep track.
Common Abbreviations (US):
ch – chain
st(s) – stitch(es)
sc – single crochet
sc blo – single crochet back loop only
sc flo – single crochet front loop only
sl st – slip stitch
Sweater Weather Pillow Pattern
Create 2 of these panels for your pillow.
To begin, chain 37 stitches.
Row 1: Make 1 single crochet in the 2nd chain from the hook, and continue doing so in each chain across. Chain 1, then turn. (You will have 36 stitches.)
Row 2: Make 1 single crochet in the back loop of the first stitch, and then continue across. Chain 1, then turn. (36 stitches remain.)
Row 3: Make 1 single crochet in the front loop of the first stitch, and then follow through to the end of the row. Chain 1, then turn. (Again, you will have 36 stitches.)
Continue to repeat Rows 2 and 3 in that order until you achieve a total of 28 rows completed. (You will still have 36 stitches.)
Row 29: Make 1 single crochet in the first stitch and then continue across. Fasten off your work and weave in the ends. (You will finish with 36 stitches.)
Assembling the Pillow
Take your two completed pillow panels and position them one on top of the other.
– Attach your yarn in the top left corner of both panels. Chain 1 and begin making single crochet stitches around the edge of the pillow. When you approach a corner, make 3 single crochet stitches in that corner stitch.
– As you reach the top right corner, add your stuffing, and then keep crocheting until the pillow is fully closed, adding stuffing as necessary. Once you reach the starting corner, make 3 single crochet stitches in that same corner, slip stitch to the next stitch, fasten off, and weave in all ends.