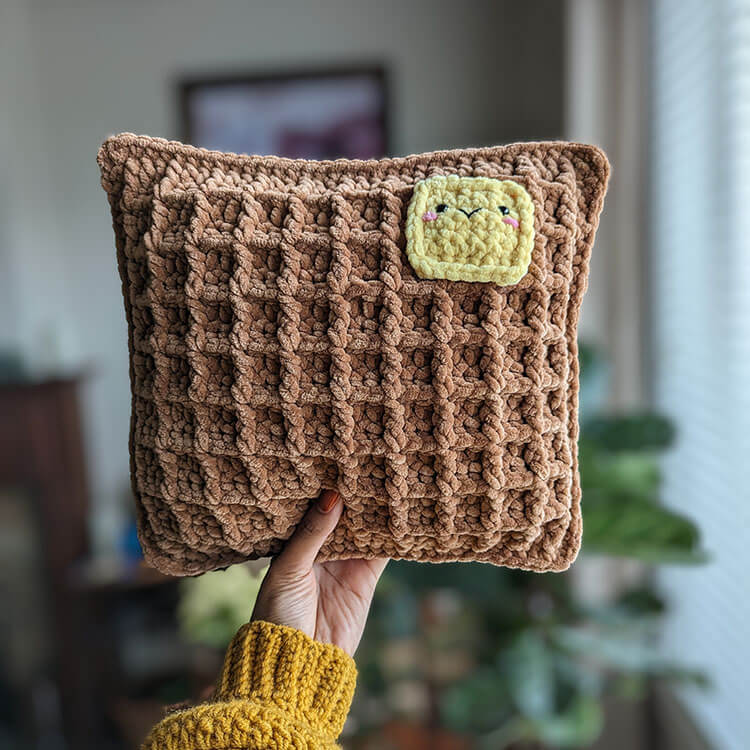
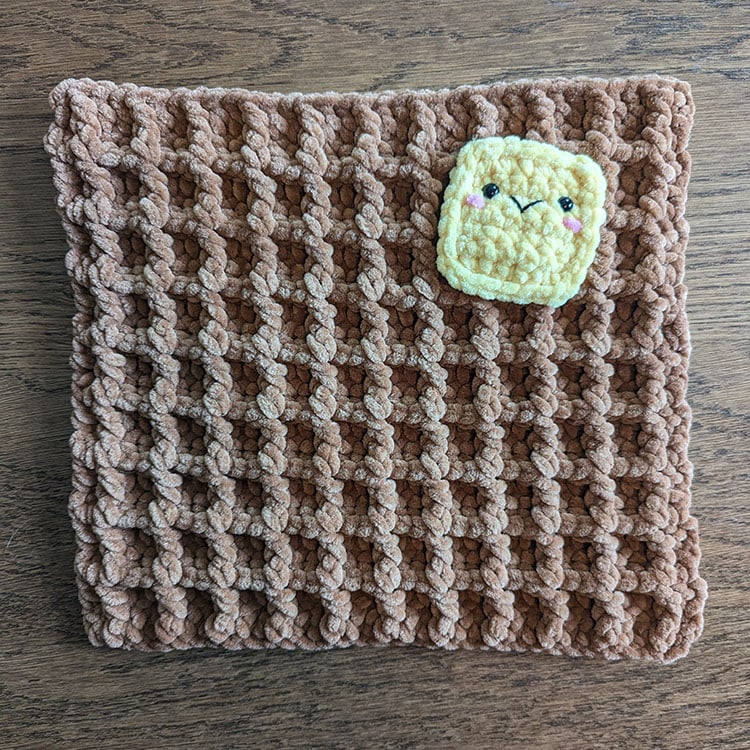
This crochet waffle pillow is not only delightfully soft, but it is also incredibly easy to create, making it a delightful project for crafters of all levels. Its charming design adds an extra layer of cuteness to your home decor, seamlessly fitting into various interior styles. Whether you want to use it as a decorative piece on your couch or a cozy cushion in your reading nook, this pillow is sure to bring a smile to your face.

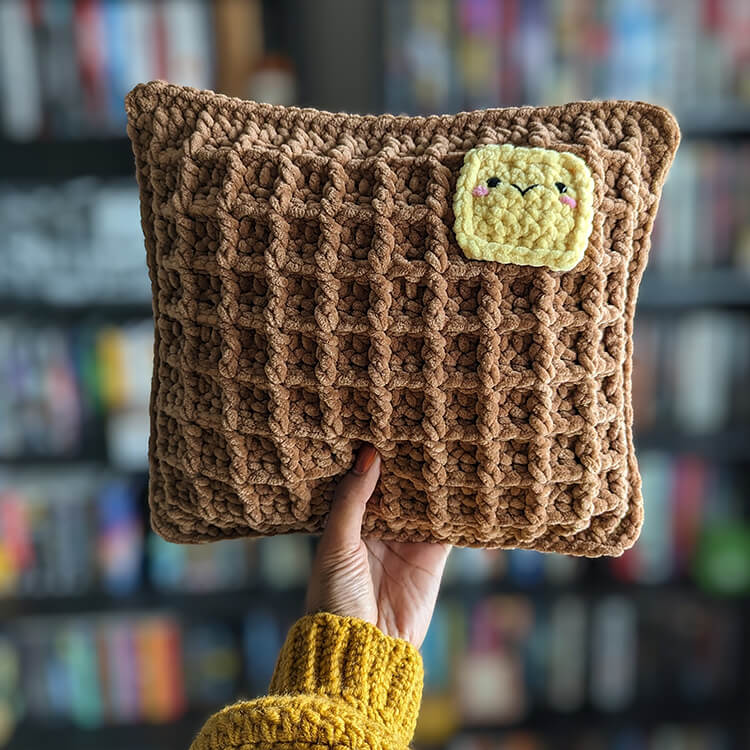
This pattern prominently utilizes the waffle stitch, a technique I absolutely adore. The waffle stitch creates a wonderfully textured fabric that resembles the delightful appearance of the breakfast treat itself. Not only is it visually appealing, but it also results in a thick, durable material that is ideal for home decor pieces like pillows.
Before embarking on this project, it is essential to note that you will need to be familiar with the front post double crochet (FPdc) stitch. If you are new to crocheting, do not worry—the pattern is suitable for beginners. However, I highly recommend practicing this stitch beforehand to ensure that you feel comfortable when you start making the pillow.
Materials Needed:
- Two skeins of Premier Parfait Chunky yarn, 131 yards each, in shade #6 Super Bulky brown. I used the color Teddy Bear.
- One skein of Premier Parfait Chunky yarn, 131 yards, in shade #6 Super Bulky yellow. I chose the color Sunshine.
- Pink yarn for adding blush to the pillow.
- Black yarn to create the mouth.
- 7.5mm safety eyes.
- A US size J 6.0 mm crochet hook.
- Poly-fil or another stuffing material.
- Stitch markers (optional, but helpful).
- A pair of scissors.
- A tapestry needle for weaving in ends.
Size (Approximate): The finished pillow measures approximately 11 inches tall and 12.5 inches wide.
Pattern Notes:
- Note that the Ch 2 at the beginning of the rows does not count as a stitch.
- This pattern is based on the waffle stitch, and if you are unfamiliar with it, I recommend practicing with a small swatch. You can chain 14 and follow the waffle stitch instructions to get the hang of it.
- If you find it challenging to locate the first or last stitch of each row, using stitch markers can help you keep track.
Abbreviations (US):
ch – Chain
st(s) – Stitch(es)
sl st – Slip stitch
sc – Single crochet
dc – Double crochet
FPdc – Front post double crochet
RS – Right side
WS – Wrong side
Waffle Pillow Crochet Pattern
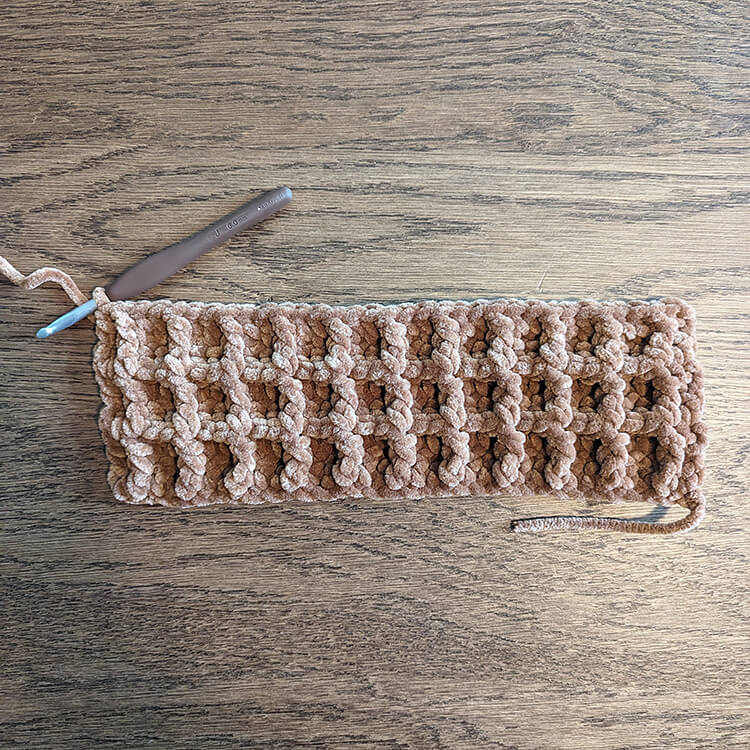
Creating the Waffle Panels Using Brown Yarn (Make 2 Panels)
To start, chain 35 stitches.
Row 1 (WS): Begin by double crocheting in the third chain from the hook and continue double crocheting in each chain across the row. After reaching the end, chain 2 and turn your work. You should have a total of 33 stitches at the end of this row.
Row 2 (RS): In this row, double crochet in the first stitch, then front post double crochet in the next stitch. Continue by *double crocheting in the next two stitches, then front post double crochet in the following stitch*. Repeat this pattern until you reach the last two stitches. In the second to last stitch, perform a front post double crochet, and then double crochet in the last stitch. Chain 2 and turn.
Row 3 (WS): For this row, double crochet in the first two stitches, then front post double crochet in the next two stitches. Continue the pattern by *double crocheting in the next stitch, then front post double crochet in the next two stitches*. Repeat until you finish with a double crochet in the last stitch. Chain 2 and turn your work.
Repeat rows 2 and 3 in the same order until you have completed a total of 18 rows. Once finished, fasten off the yarn and weave in the ends to secure your work.
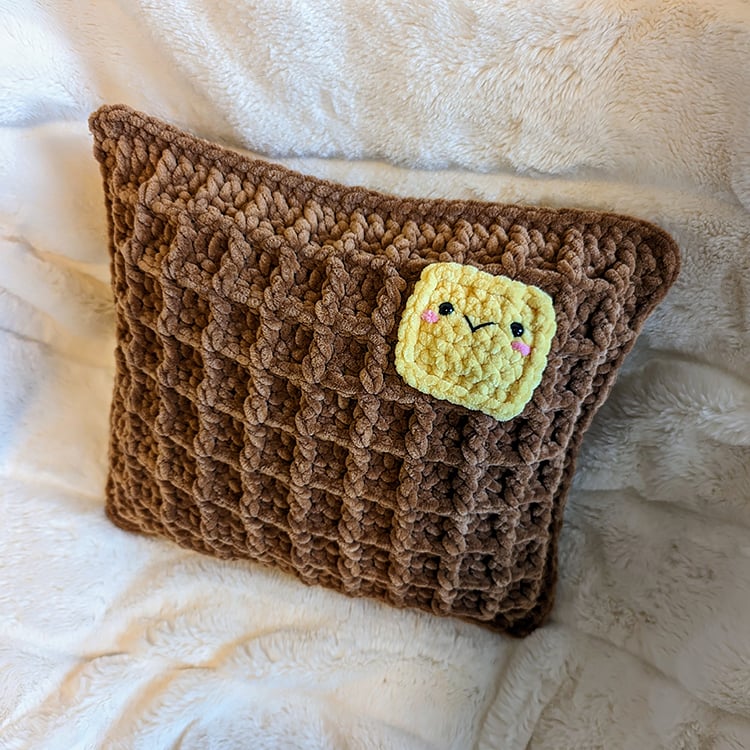
Creating the Butter
To start, chain 8 stitches.
Row 1: Begin by single crocheting in the second chain from the hook and in each stitch across. Once you reach the end, chain 1 and turn your work. You should have 7 stitches.
Rows 2-7: For these rows, continue to single crochet in each stitch, chaining 1 before turning at the end of each row.
After completing the final row, without cutting the yarn, chain 1 and single crochet around the entire edge of the butter piece. When you reach a corner, be sure to place three single crochet stitches in that corner for a smooth finish. When you return to the starting corner, again place three single crochet stitches to close it off. Fasten off, leaving a long tail for sewing.
At this stage, you can add the eyes, mouth, and blush details to your butter. Position the safety eyes between the sixth and seventh rows, with a spacing of four stitches apart for the best look.
Assembling the Waffle
Begin by sewing the butter onto one of the waffle panels. Make sure to attach it to the right side of the panel for optimal appearance.
Next, lay your two waffle panels on top of one another with the wrong sides facing outwards. This positioning ensures that the right sides will be visible once the pillow is finished.
Attach your yarn to the top left corner of both panels. Chain 1 and start single crocheting around the perimeter of the waffle. Whenever you encounter a corner, place three single crochet stitches to create a nice rounded finish.
It is understandable that seeing the stitches while crocheting the edges can be a bit tricky. Just do your best to maintain an even edge; the exact stitch count is not critical.
As you reach the top of the waffle, begin stuffing the pillow. Ensure that you do not overstuff it, so it retains its shape properly. Continue with the single crochet until you reach the starting corner once again. When you arrive, place three single crochet stitches in that corner, fasten off, and weave in all ends securely.