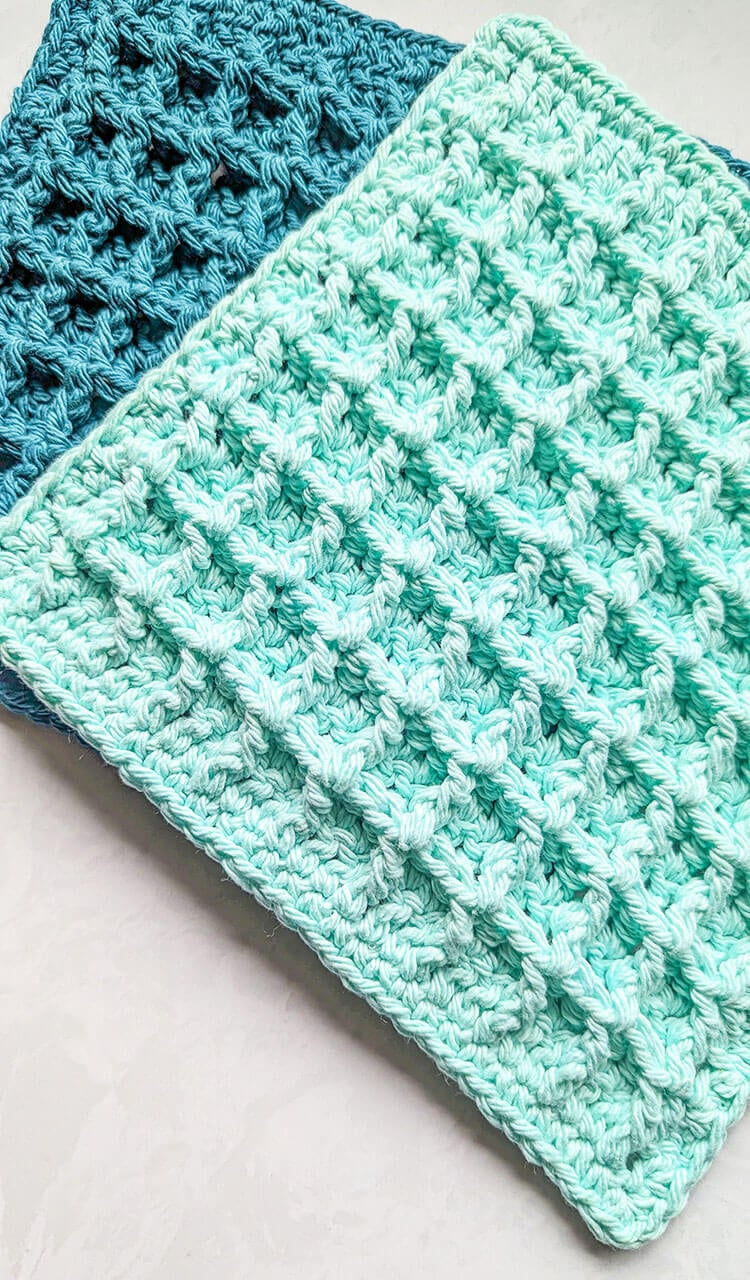
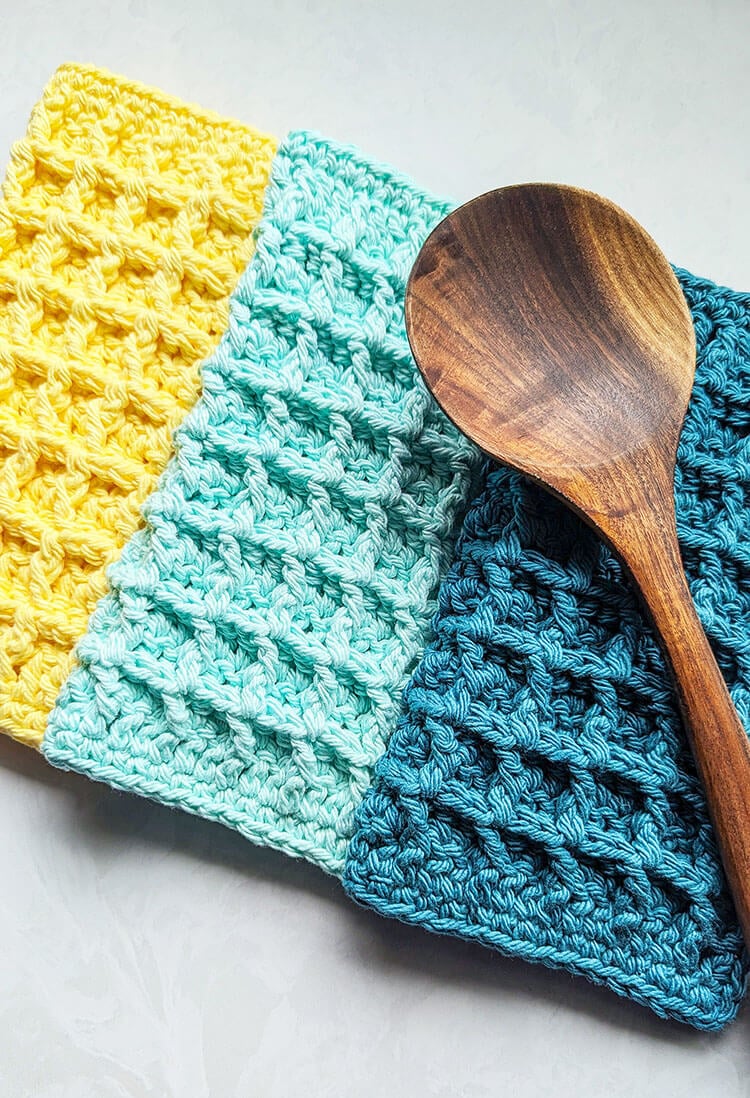
The waffle stitch dishcloth is a cherished quick crochet project that I genuinely enjoy creating. Its distinctive deep and squishy texture not only provides visual appeal but also delivers a practical scrubby surface for cleaning dishes, countertops, and handling kitchen messes. This versatility makes it a staple in any culinary setting.

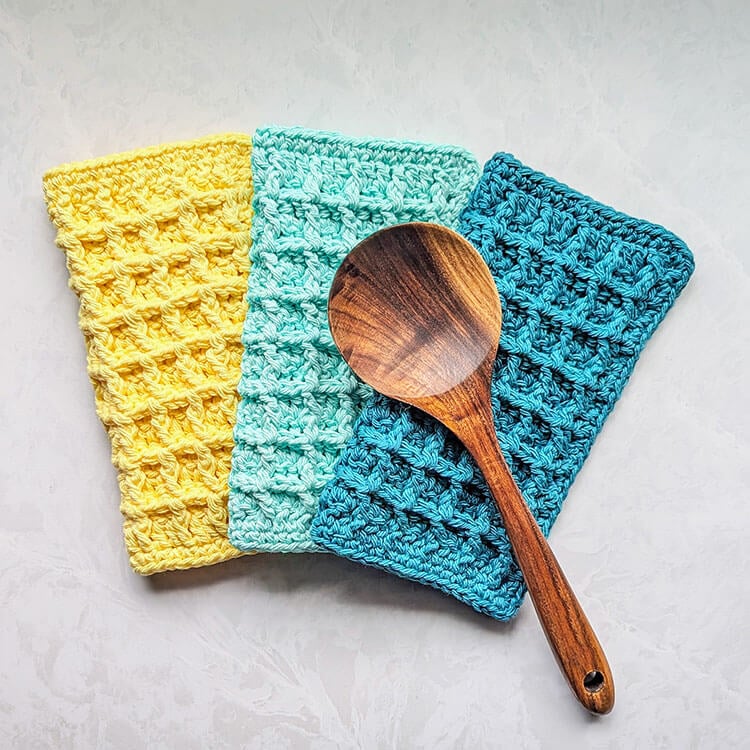
While the waffle stitch may seem complex at first glance, it is actually formed through a repetition of straightforward stitches that join together to create the signature grid-like texture. Once you immerse yourself in the rhythm of the stitch, the work progresses swiftly and beautifully, almost becoming a meditative experience.
This dishcloth pattern is particularly beginner-friendly for those looking to practice post stitches, and it also serves as a relaxing project for those who are more experienced in crocheting. The process is enjoyable for anyone who loves crafting with yarn.
Materials Needed:
- 1 skein of Classic Cotton Yarn by Loops and Threads, which provides 120 yards of #4 medium weight yarn
- A US size G (4.0 mm) crochet hook for crafting
- Stitch markers for optional assistance in tracking stitches
- Scissors for yarn cutting
- A tapestry needle for weaving in ends
Approximate Size: The finished dishcloth will measure around 7.25” by 7.25”.
Gauge: When working in a 4-inch by 4-inch swatch, you can expect to achieve approximately 18 stitches and 10 rows.
Adjusting the Size: If you wish to modify the width of your dishcloth, simply start with a longer or shorter chain. The pattern requires a chain multiple of 3 plus an additional 2 stitches. For example, if you decide to chain 12, you will need to add 2 stitches for a total of 14.
Important Pattern Notes:
- The initial Ch 2 at the start of the rows does not count as a stitch.
- This pattern incorporates the waffle stitch. If you are unfamiliar with this technique, I recommend practicing with a small swatch first. You can chain 14 and then follow the main pattern to get accustomed to the stitch.
- If you have difficulty identifying the first or last stitches of the row, using stitch markers can be invaluable in helping you keep track.
Abbreviations Used (US):
ch – chain
st(s) – stitch(es)
dc – double crochet
FPdc – front post double crochet
RS – right side
WS – wrong side
Waffle Stitch Dishcloth Crochet Pattern
To begin, chain 32
Row 1 (WS): Insert 1 double crochet into the 3rd chain from the hook and continue to double crochet into each chain across the row. Then chain 2 and turn your work. (30 stitches)
Row 2 (RS): Begin by doing a double crochet in the first stitch, followed by a front post double crochet in the next stitch. Then repeat the sequence of double crochet in the next 2 stitches, followed by a front post double crochet in the next stitch. Continue this pattern until you reach the last 2 stitches, where you will perform a front post double crochet in the second to last stitch and finish with a double crochet in the last stitch. Chain 2 and turn. (30 stitches)
Row 3 (WS): Start with a double crochet in the first 2 stitches, followed by a front post double crochet in the next 2 stitches. Then repeat the sequence of double crochet in the next stitch and front post double crochet in the following 2 stitches up until the end. Finish by doing a double crochet in the last stitch. Chain 2 and turn. (30 stitches)
Continue repeating rows 2 and 3 in that order until you have completed a total of 16 rows.
Adding the Border
Round 1: With the right side of the dishcloth facing up and your yarn still attached, chain 1 and single crochet around the entire dishcloth. As you reach each corner, make sure to place 3 stitches into the corner to give it a rounded look. When you return to the starting corner, again place 3 stitches in that corner. Fasten off and be sure to weave in any loose ends neatly.