
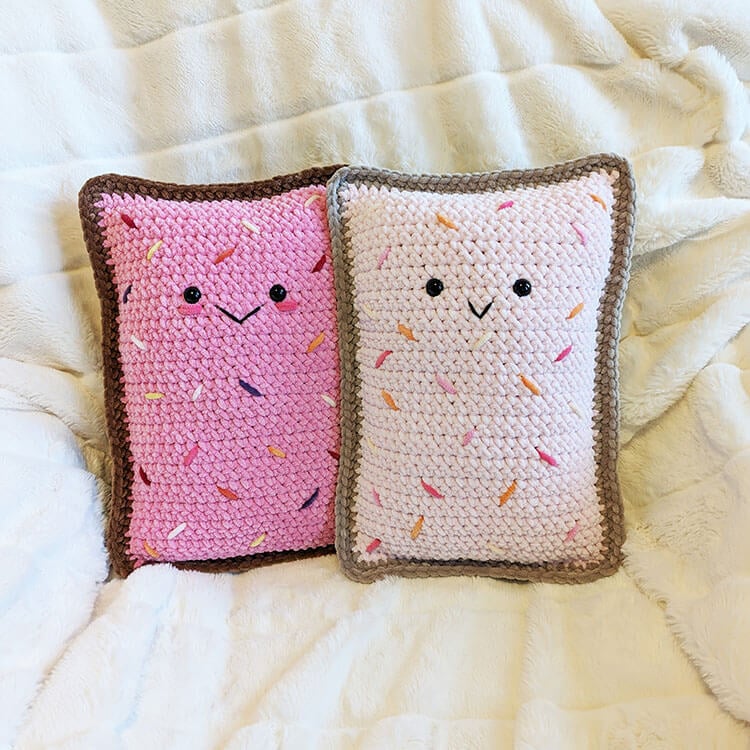
If you are passionate about food-themed crochet projects, you will absolutely fall in love with this adorable toaster pastry plushie. This delightful design captures the essence of a classic treat in a soft, cuddly form. The possibilities for color combinations are virtually limitless, allowing you to express your creativity while bringing this whimsical creation to life. Crafting your own plushie will undoubtedly add a joyful twist to your crochet journey.

*This post may contain affiliate links.
Follow my comprehensive step-by-step instructions to create your very own toaster pastry plushie. This crochet pattern is suitable for all skill levels, making it a great choice whether you are a seasoned crocheter or just starting out. You can choose your favorite yarn colors and make as many of these charming plushies as your heart desires.
Materials Needed:
- 1 skein of Premier Parfait Chunky yarn, 131 yards, #6 Super Bulky in brown. I personally used the shades Teddy Bear and Toffee for my toaster pastries.
- 1 skein of Premier Parfait Chunky yarn, 131 yards, #6 Super Bulky in pink. For this, I utilized the colors Ballet Pink and Hibiscus.
- Scrap yarn to use for sprinkles
- Black yarn for the mouth
- 15mm safety eyes
- US size J 6.0 mm crochet hook
- Poly-fil for stuffing
- Stitch marker (optional)
- Scissors
- Tapestry needle
Size: (approximate): 15 inches tall
Pattern Notes:
- The chain 1 at the beginning of rows does not count as a stitch.
- If you have difficulty finding the first or last stitch of each row, consider using stitch markers to help you keep track.
- You are free to select your own choice of yarn and hook size. However, please note that this will affect the final dimensions of your plushie.
Abbreviations (US):
ch – chain
st(s) – stitch(es)
sl st – slip stitch
sc – single crochet
If you desire to print the pattern, you can buy the ad-free printable PDF from my shop.
Toaster Pastry Crochet Pattern
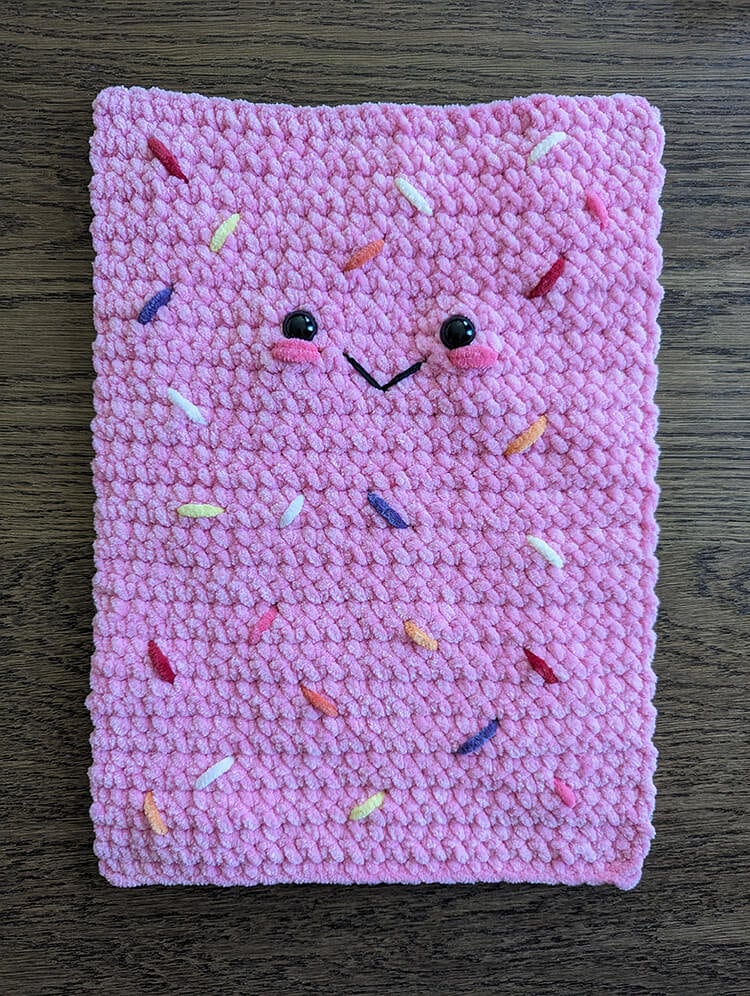
Creating the Frosting Panel (using pink yarn)
To start, chain 27.
Row 1: Single crochet into the second chain from the hook and into each chain across. Chain 1 and turn. You should have 26 stitches.
Rows 2-40: Continue to single crochet into each stitch. Chain 1 and turn at the end of each row. You will maintain 26 stitches throughout.
Once finished, fasten off and weave in the ends to secure your work.
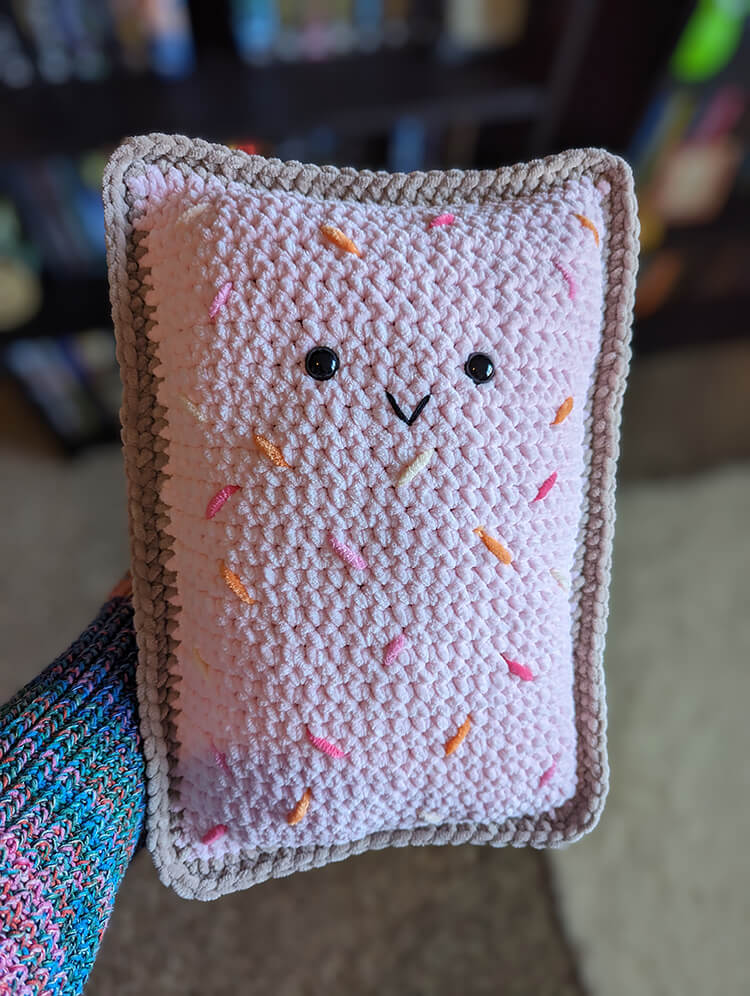
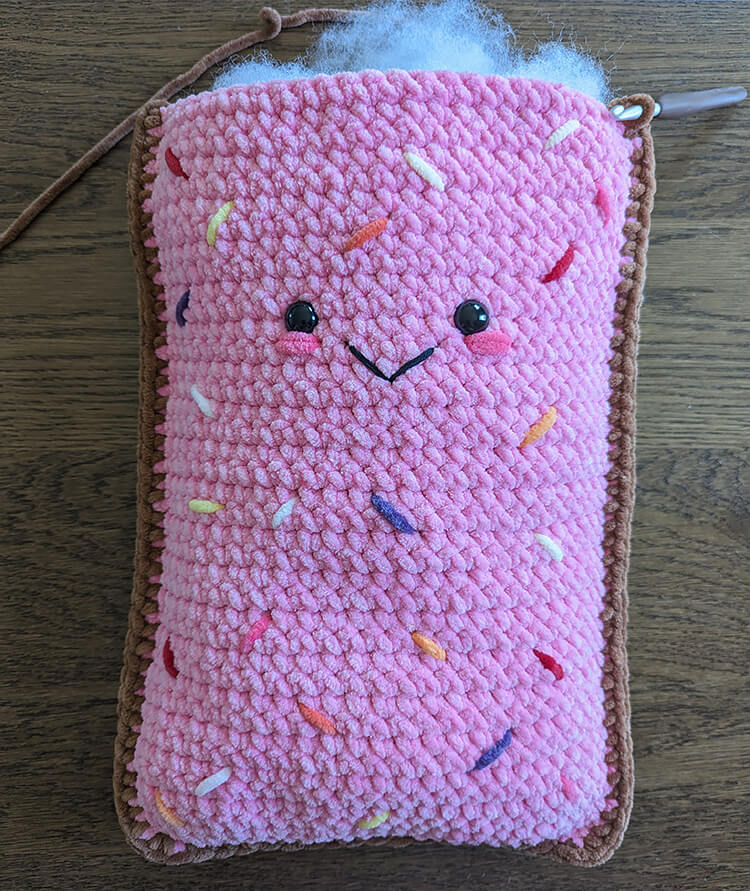
Now, adorn the frosting panel by adding the eyes, mouth, blush, and sprinkles. While you can choose to add the sprinkles after finishing the entire project, I suggest incorporating them at this stage for an easier application.
Position the eyes between rows 29 and 30. I placed mine 7 stitches apart.
Creating the Crust Panel (using brown yarn)
To begin, chain 27.
Row 1: Single crochet into the second chain from the hook and into each chain across. Chain 1 and turn, resulting in 26 stitches.
Rows 2-40: Continue single crocheting into each stitch, again chaining 1 and turning at the end of each row. You will maintain 26 stitches throughout.
Once complete, fasten off and weave in any loose ends.
Now, let’s connect the Filling and Crust!
To assemble, place the frosting panel on top of the crust, ensuring the right sides face outward.
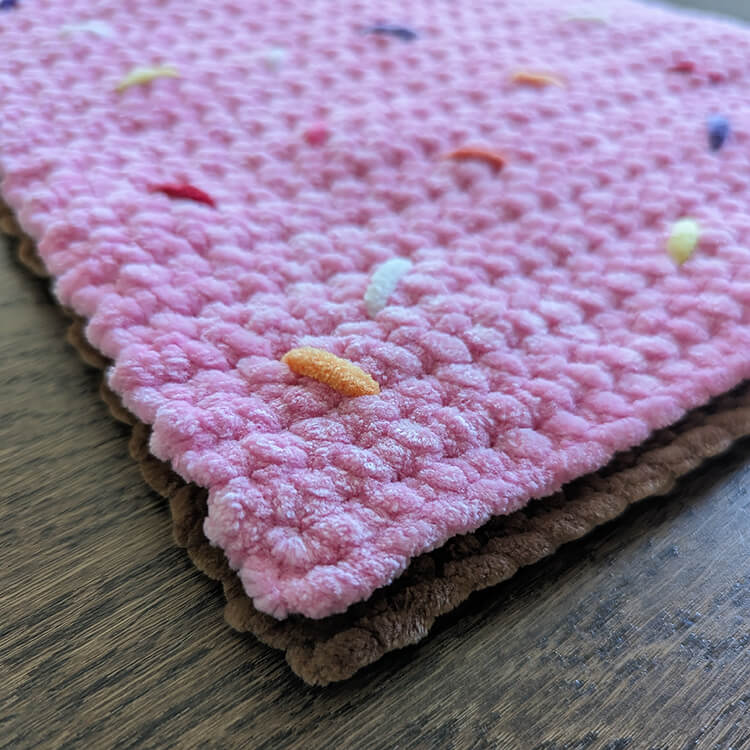
Now, we will single crochet the two panels together using the brown yarn.
Round 1: Begin by attaching your yarn to the top left corner of both panels, placing 2 single crochet stitches into the corner stitch.
Proceed to single crochet the panels together, placing one single crochet in each stitch. Whenever you reach a corner, add 2 stitches to round it out.
*I understand that it can be challenging to see your stitches when crocheting the sides together. Just do your best here; the exact stitch count is not the crucial part of this step.
Before closing the final row, stuff your toaster pastry plushie gently, being careful not to overstuff it as that could distort its shape. Do not fasten off just yet; move on to round 2.
Round 2: Single crochet in each stitch around, then slip stitch to join with the first single crochet. Fasten off and weave in any loose ends to complete your work.