The Chestnut beanie crochet pattern is a delightful and warm project that is perfect for those looking to create something cozy and stylish. Utilizing bulky weight yarn, this pattern allows for a swift crafting experience, making it a great option for both newcomers and seasoned crocheters alike. The speed at which it comes together means you can quickly whip one up for yourself or as a thoughtful gift for a friend or family member.

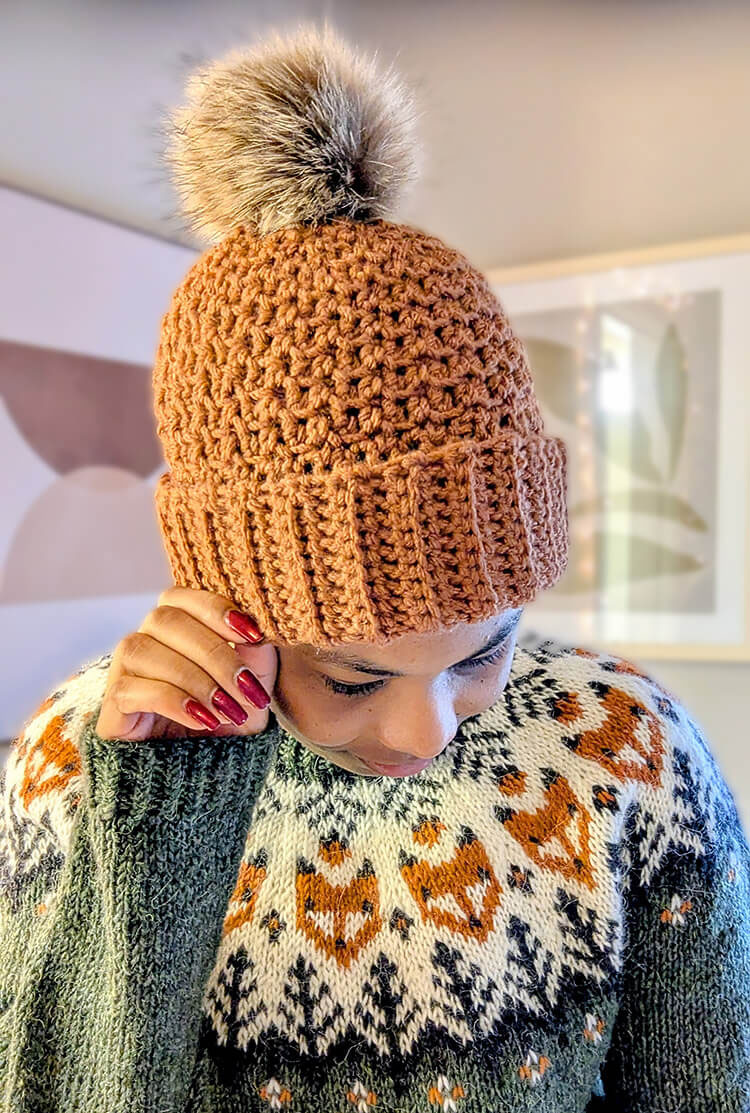
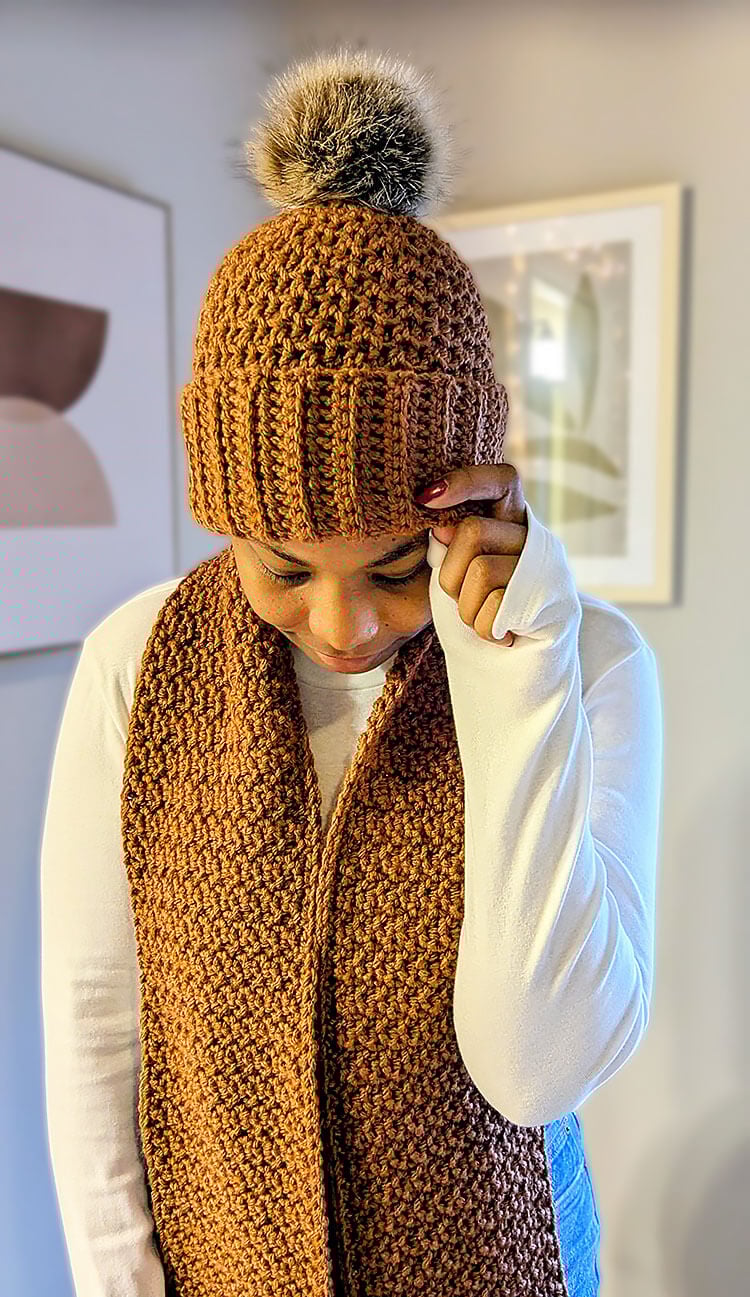
This beanie features a double brim that not only adds an extra layer of warmth but also provides a beautifully structured appearance. The unique textured stitch enhances the visual interest, making this accessory not only functional but also stylish. Thick, warm, and incredibly cozy, this beanie is ideal for chilly days and stands out as an excellent gift option.
Materials Required:
- 215 yards of #5 bulky weight yarn. I used Brava Bulky Yarn for its softness and warmth.
- A US size K 6.5 mm crochet hook, which is perfect for working with bulky yarn.
- A stitch marker to help keep track of your rounds.
- Scissors for trimming your yarn.
- A tapestry needle for weaving in ends.
- An optional pom pom to add a fun finishing touch to your beanie. You can find suitable pom poms here.
Size (approximate): The beanie, including its brim, is about 9 inches tall and will comfortably fit an adult with a head circumference between 21 and 22 inches.
Gauge: The body of the hat measures approximately 6 half double crochet stitches and 4 rows for a 2-inch by 2-inch square. In contrast, the brim consists of about 7 single crochet stitches and 6 rows for a similar square measurement.
Pattern Notes:
- The initial chain 1 does not count as a stitch.
- All work will be done in continuous rounds. Unless specifically stated otherwise, do not join at the end of your rounds.
- When you reach the decrease portion of the pattern, you will work the decreases in the front loops only.
Common Abbreviations (US):
ch – chain
st(s) – stitch(es)
sc – single crochet
hdc – half double crochet
hdc blo – half double crochet back loop only
hdc flo – half double crochet front loop only
hdc2tog – half double crochet two together
Chestnut Beanie Crochet Pattern
Creating the Double Brim
Row 1: Start by chaining 22. Work 1 single crochet in the second chain from the hook and continue by placing 1 single crochet in each chain across. Chain 1 and turn your work. You should now have a total of 21 stitches.
Rows 2-54: For these rows, work 1 single crochet in the back loop only in the first stitch and each stitch across. Remember to chain 1 and turn your work at the end of each row.
Once you’ve completed these rows, fold the piece in half so that the short ends meet. Slip stitch the last row to the first row, creating a completed brim. Do not fasten off just yet, as you will now move on to the body of the hat.
Body of the Hat
Round 1: Chain 1 and work 1 half double crochet into each stitch around the brim, resulting in a total of 54 stitches.
Don’t forget to place your stitch marker in the first stitch of each round, which will help you keep track of when you begin a new round.
Round 2: Here, you will work 1 half double crochet in the back loop only in the first stitch followed by 1 half double crochet in the front loop only in the next stitch. Repeat from the beginning around, maintaining a total of 54 stitches.
Round 3: For this round, work 1 half double crochet in the front loop of one stitch, then a half double crochet in the back loop of the next stitch. Continue this pattern around, resulting in 54 stitches at the end.
Continue repeating Rounds 2 and 3 alternately until you have completed a total of 7 rounds. Once you reach this point, you will be ready to begin the decrease rounds.
Decrease Rounds
During these rounds, the decreases will be made in the front loops only.
Round 1: Work a half double crochet in the back loop of the first stitch, a half double crochet in the front loop of the next stitch, then continue with a half double crochet in the back loop of the next stitch followed by one in the front loop of the next stitch. Complete the round by working a half double crochet two together over the next two stitches. Repeat this sequence around, leading to a total of 45 stitches.
Round 2: Start with a half double crochet in the front loop of the first stitch, then proceed with a half double crochet in the back loop of the next stitch and a half double crochet in the front loop of the next stitch, followed by a half double crochet two together over the next two stitches. Repeat this pattern for the entire round, which will leave you with 36 stitches.
Round 3: Continue with a half double crochet in the back loop of the first stitch and a front loop half double crochet in the next stitch, repeating this sequence around for a total of 36 stitches.
Round 4: Work a half double crochet in the front loop of the first stitch, then a back loop half double crochet in the next stitch, and finally a half double crochet two together over the next two stitches. Repeat throughout the round, reducing to 27 stitches.
Round 5: Begin with a half double crochet in the back loop of the first stitch and then continue with half double crochet two together in the remaining stitches. You should end up with 14 stitches.
Closing the Top
To close the hole at the top of your beanie, fasten off the yarn while leaving a long tail of about 12 inches for sewing. After finishing the last round, there will be a small opening left. To close it up, thread your yarn tail onto a tapestry needle and weave it through each of the stitches around the opening.
As you make your way back to the starting point, pull the yarn to close the gap. If necessary, continue to weave the yarn through to ensure the top of the beanie is securely fastened. Once you are satisfied, fasten off the yarn and weave in any remaining ends.
This design aims to minimize bunching at the top of the beanie, allowing it to be worn comfortably with or without a pom pom. I recommend using pom poms that come with an elastic loop for quick and hassle-free attachment.